

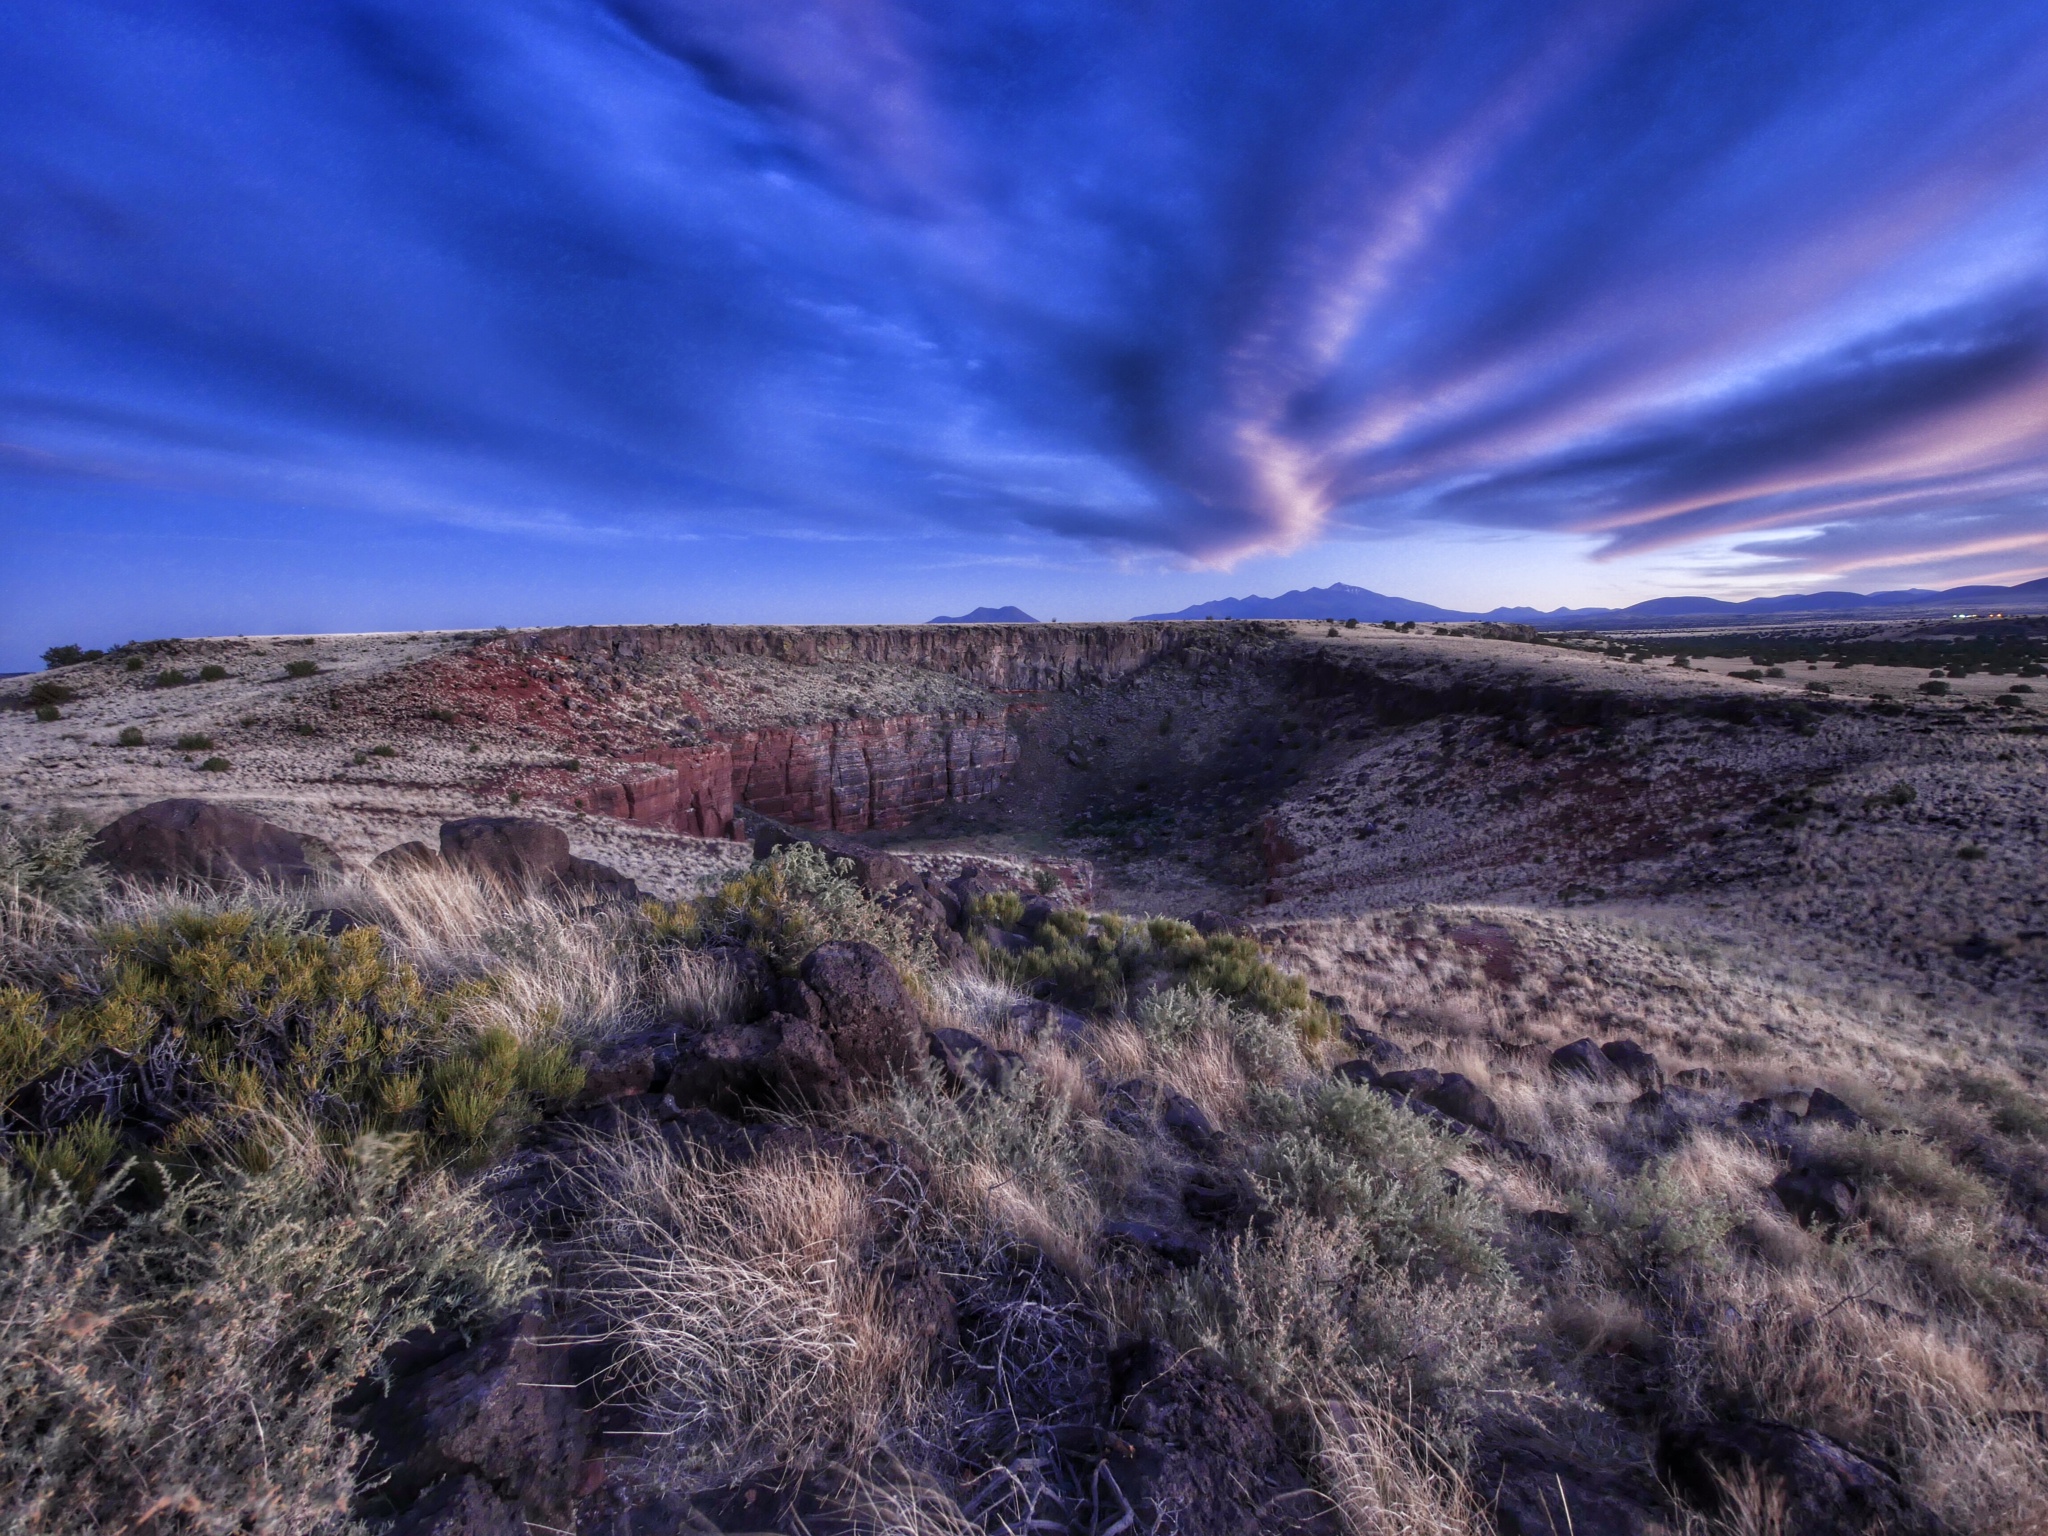
This shot of the Wupatki National Monument in Arizona was edited using Snapseed on my iPad
I just returned from a trip that is pretty typical of the traveling and shooting that I usually do. I flew to a location, rented a car for a few days, then flew back home. I realized that traveling this way has taught me a few lessons that might be helpful to other photographers on the road.
When you’re taking a car trip you have a few luxuries that you give up when you add air travel to the mix. You can basically carry as much gear as you can fit into your vehicle. You don’t have to worry about how much your bags weigh, how many bags you have or whether or not they fit under the seat in front of you. You can also bring along your own food and drinks, which can save you a lot of money on the road.
The problem with taking a car trip is that you tend to carry as much gear as you can fit into your vehicle! I know I usually bring more gear than I need simply because I CAN. On a recent trip to Florida I filled up my truck with gear, then schlepped several bags into my hotel room when I arrived. I had everything I could possibly need for any photo opportunity I came across. Each day I grabbed my backpack with my basic kit and left the rest at the hotel. At the end of the trip I schlepped all of my gear back to my truck and headed home. I could have easily made the trip with one small camera bag and been perfectly happy.
When you have to fly with your gear it forces you to make some hard decisions about what you really NEED to bring with you. If you’re going on a big commercial shoot you might just pack your Pelican cases and bring your whole gear locker, but I’m talking about your average “few days of shooting” type of trip. I wouldn’t recommend showing up to a photo workshop with every piece of camera gear you own. You want to spend as much time shooting and learning as possible, and not worrying over a ton of gear. If you’re trying to make some great photos while you’re traveling with your family I think it is even more important to travel as light as possible.
Here are five tips that help me to travel light on the road:
-

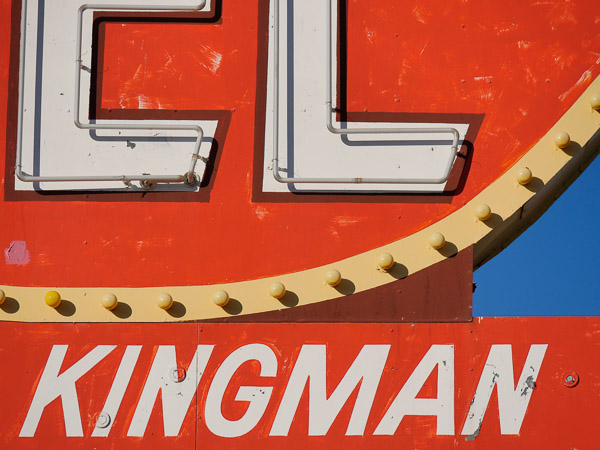
These two images were made with the same lens, the LUMIX 35-100mm f2.8. This shot at 100mm…
Use small-sensor cameras. When I read Bob Krist’s book “Travel Photography: Documenting the World’s People & Places” several years ago I couldn’t believe that he used and recommended cameras with APS-C sensors. He made the point that the smaller sensor meant that you can use smaller lenses, and smaller lenses are lighter and easier to carry. Since then I have gone from full-frame cameras to my current LUMIX Micro Four Thirds kit. The image quality is fantastic, and I am no longer bound to big heavy glass. Small cameras are fine, but if you still have to use full-frame size glass I don’t see a big benefit. Of course you can use smaller prime lenses, but that brings me to the next tip…
-
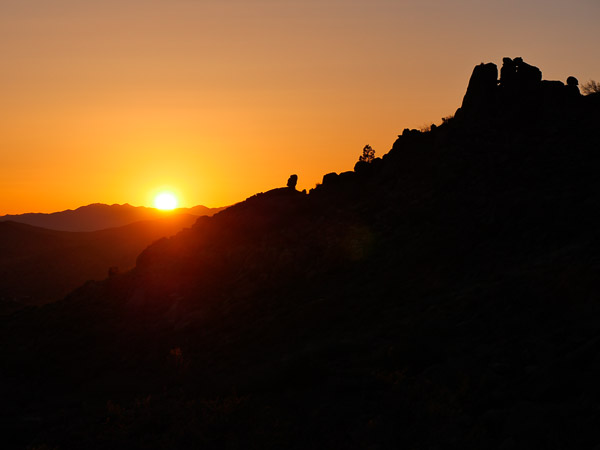
…And this shot with the 35-100mm f2.8 lens at 35mm
Use zoom lenses. When I started using MFT cameras three years ago the only really good quality lenses were fixed focal length lenses (AKA Prime lenses). I went from carrying three full-frame lenses to carrying five or six MFT primes. It was not a big deal since MFT lenses are so small and light, but when the LUMIX 12-35mm f2.8 and 35-100mm f2.8 lenses were released I was elated. I tested these Pro lenses against my primes and found them to be equally sharp at my usual working apertures (f4-f8). I have since added the LUMIX 7-14mm f4. I can cover the full-frame equivalent of 14mm-200mm with just three lenses that are sharp and easy to pack. Zoom lenses also allow you to spend more time shooting and less time changing lenses, and that is important when you have limited time behind the camera.
-
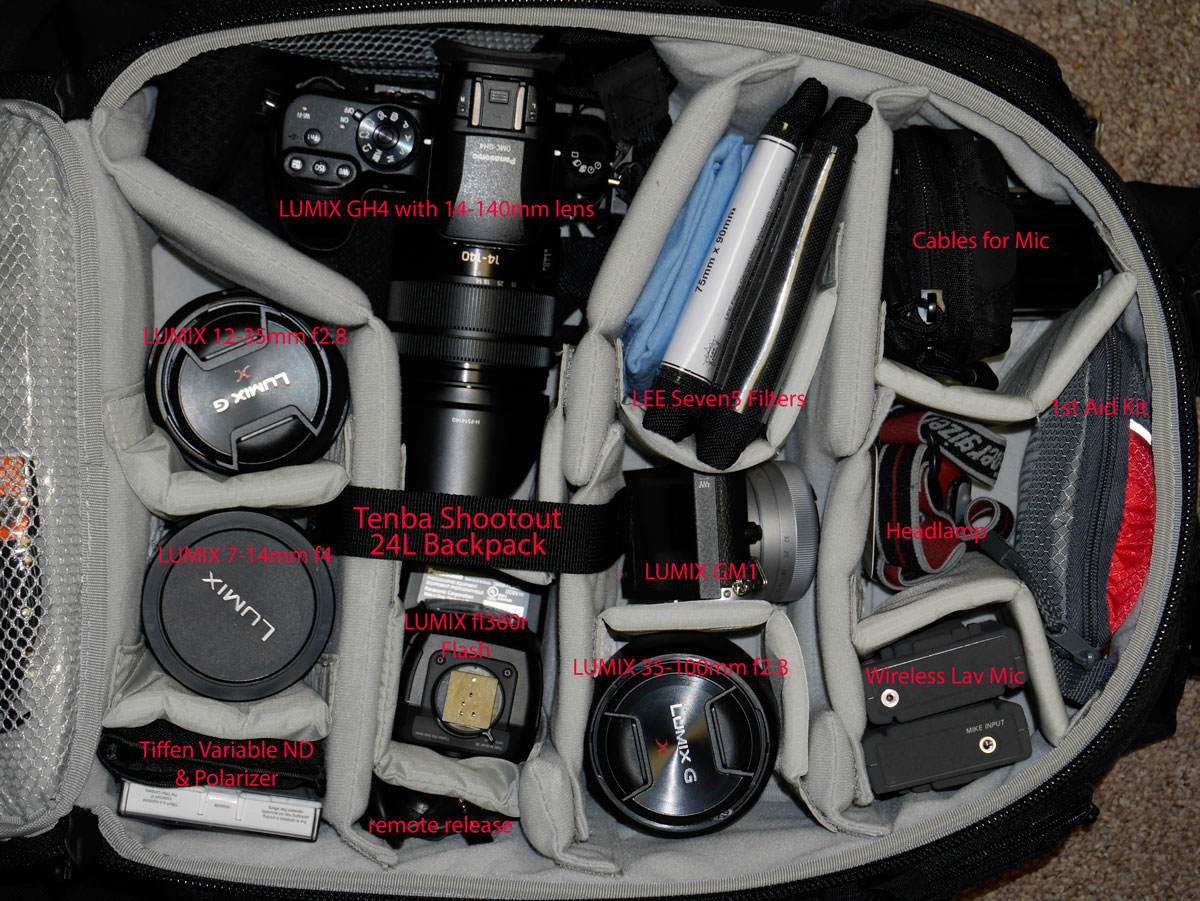
This is my Tenba Shootout 24L Backpack loaded for a four day trip
Don’t bring the kitchen sink. I think this advice is especially important when it comes to lenses. The more experience you have behind the camera the easier it will be to decide which lenses you can’t leave home without. If all of your favorite images were made with your 25mm f1.4 you will definitely want to throw that lens in the bag. Do you really need your macro lens if you’re going to the Grand Canyon? Sure, it might be nice to have, but chances are you can made due and still capture amazing images without it. Limiting your lens choices can help you learn to think more creatively with the lenses you have with you. It is important to understand that you might not have the perfect lens to make EVERY photo you might envision along the way, and that’s OK!
- Leave the laptop at home. I know this is a crazy one, and I still struggle with this myself. I want to see and edit my photos every day, but bringing a computer isn’t the only option. On a recent trip I decided to leave my laptop at home and just bring my iPad. My camera (LUMIX GH4) has built in WiFi, so it was really easy to load photos onto the iPad. I used apps like NIK Snapseed to edit the images and then I could upload them to my social media channels from the road. It worked very well for me and I will definitely be using this workflow for short trips in the future. If I am teaching or traveling for more than a few days I will still bring my laptop. The iPad is convenient, but I am not copying all of my images to it by any means. I want to copy all of my images each day so I have a backup if I’m traveling for an extended period of time. It sure it nice to leave the weight of the computer, hard drives, etc behind whenever it is feasible.
-
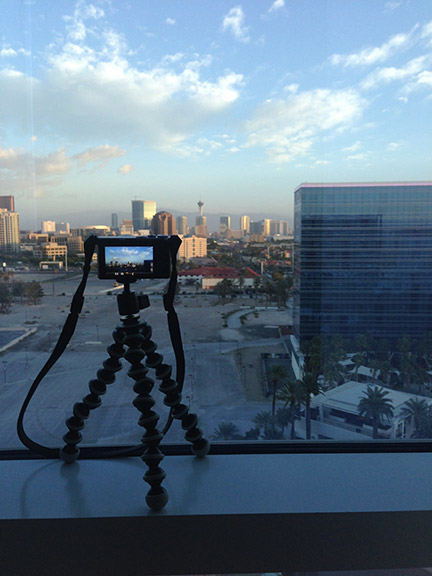
The Gorilla Pod in action with my LUMIX GM1
Think small when it comes to support. I don’t have anything against tripods. In fact I really like working on a tripod whenever I can. Packing for air travel definitely has some bearing on your tripod choices, and there are a few things I have found that work well. The first and most obvious is a travel-sized tripod. My Induro CGT-214 fits into a carry-on suitcase but it supports a ridiculous amount of weight. Unlike most travel tripods it is even sturdy enough for shooting video. Smaller still is a Gorilla Pod or similar compact tripod. When this is the only support you have it is amazing how you will end up using one of these suckers. You can wrap them around railings, tree branches, etc, etc. They say the best camera is the one you have with you, and I think the same goes for tripods.
Hopefully that gives you some ideas that help you pack more efficiently for your next trip. Next time I’ll have some tips for packing that don’t necessarily involve photo gear. Chances are you will want to bring a change of clothes and some other things with you when you travel too!
You can try out some of these tips with me and fellow LUMIX Luminary Rick Gerrity along Route 66 this October. For more information click over to Route66.eventbee.com

0 Comments
Trackbacks/Pingbacks